
Table of Contents
- How to Prepare Your Property for Driveway Installation
- Check Local Building Regulations and Residential Driveway Permit Requirements
- Clear the Site of Vegetation and Debris
- Assess Soil Stability and Drainage Conditions
- Coordinate Utility Line Marking and Property Boundaries
- Land Grading for Drainage and Proper Surface Preparation
- Determine Driveway Base Material Depth and Compaction
- Plan for Post-Installation Protection and Maintenance
Last Updated: August 20, 2026
How to Prepare Your Property for Driveway Installation
Preparing your property for driveway installation is one of those projects that looks straightforward until you start digging. Most homeowners underestimate what it actually takes to create a foundation that will last. The difference between a driveway that holds up for 15 years and one that cracks within three comes down to what happens before the asphalt or concrete ever gets poured.
At Timber Shredders LLC, we’ve seen countless properties where poor preparation led to expensive repairs down the road. Drainage problems, unstable soil, uncleared vegetation, and inadequate base material are the usual culprits. The good news is that how to prepare your property for driveway installation is entirely within your control. It requires planning, assessment, and sometimes professional equipment, but it’s manageable if you know what to look for.
This guide walks you through each step of the process. We’ll cover the permits you need, the site assessment that matters, and the specific preparation work that determines whether your driveway will be a solid investment or a recurring headache.
Check Local Building Regulations and Residential Driveway Permit Requirements
Before you clear a single branch or move any soil, you need to understand what your local jurisdiction requires. Building codes exist for a reason, they protect your property and your neighbors’ properties from drainage and structural issues.
Residential driveway permit requirements vary significantly by location. Some municipalities require a permit for any new driveway; others only require one if you’re widening an existing one or if your driveway exceeds a certain size. A few jurisdictions have minimal requirements at all. The only way to know for certain is to contact your local building department or check their website.
When you call or visit, ask specifically about:
- Whether a permit is required for your driveway size and type
- Setback requirements (how far the driveway must be from property lines)
- Maximum slope grades for drainage compliance
- Easement restrictions that might affect placement
- Whether you need a site plan drawn by a professional
Getting this information upfront prevents costly mistakes. If you install a driveway that violates local ordinances, you could be forced to remove it and start over. That’s an expensive lesson. Many jurisdictions also require inspections at certain stages, typically after grading and before the final surface is applied. Plan for these checkpoints in your timeline.
Call your local building department early in the planning process, not after you’ve already hired contractors. Permit requirements sometimes affect where you can place the driveway or how deep your base layer needs to be.
Clear the Site of Vegetation and Debris
You can’t build on a site covered in brush, stumps, and debris. This step sounds obvious, but it’s where many property owners get stuck. Dense vegetation, old root systems, and scattered debris make it impossible to assess soil conditions or create a stable base.
Professional land clearing equipment removes vegetation far more efficiently than manual labor. Forestry mulching equipment, for example, grinds vegetation and smaller trees into mulch on-site, eliminating the need for hauling and disposal. This approach also improves soil health by adding organic material back to the ground, which is why many property owners prefer it over traditional bulldozing that simply pushes debris into piles.
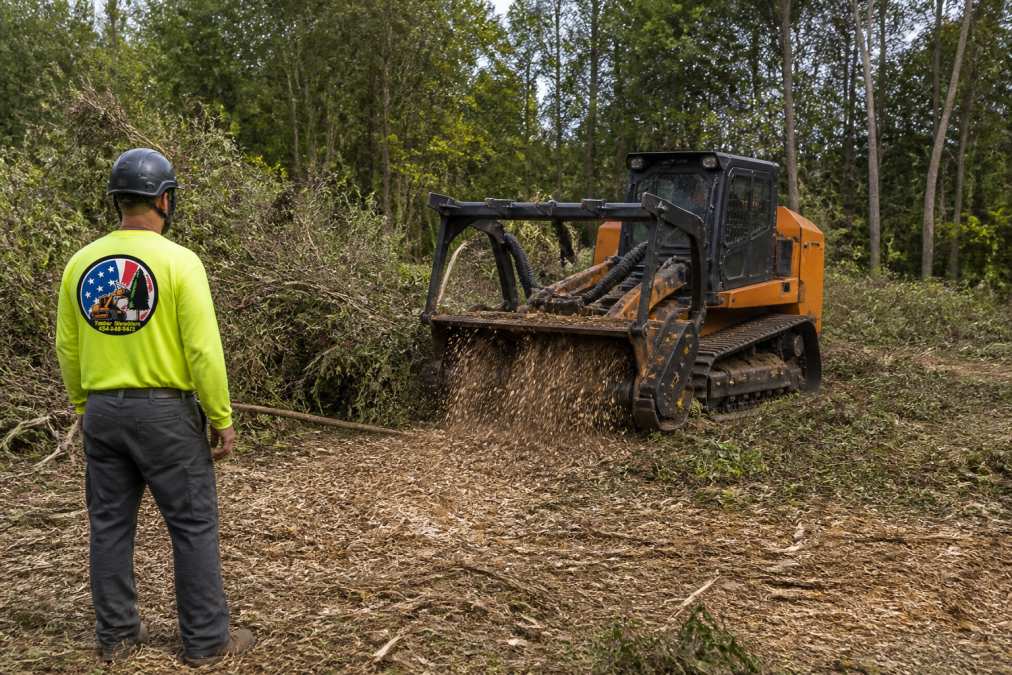
When clearing the site, remove:
- All vegetation within the driveway footprint and 2-3 feet beyond it
- Tree stumps and major root systems that could shift under weight
- Rocks, debris, and construction waste
- Any dead wood or organic material that will decompose unevenly
The goal is a clean, bare surface where you can see the actual soil and assess its condition. If you’re clearing a property yourself, rent a bobcat or similar equipment rather than attempting it with hand tools. The time and physical effort required for manual clearing makes professional equipment cost-effective, especially on larger properties.
Thorough site clearing reveals soil conditions and prevents settling issues later. Don’t rush this step, it’s the foundation for everything that follows.
Assess Soil Stability and Drainage Conditions
Once the site is cleared, you need to understand what you’re working with. Different soil types behave completely differently under the weight and stress of a driveway. Clay soil, for example, holds water and becomes unstable when saturated. Sandy soil drains quickly but can shift under load. Loam, which contains a mix of clay, silt, and sand, typically performs better than either extreme.
Assess soil stability by doing a simple percolation test. Dig a hole about 12 inches deep in several spots across the proposed driveway area. Fill the holes with water and observe how quickly the water drains. If water sits for more than a few hours, you have a drainage problem that needs addressing. If it drains within minutes, you likely have sandy soil that may need additional compaction.
Check for these soil conditions:
- Soft or spongy areas that compress under foot pressure
- Standing water or persistent dampness
- Clay layers near the surface
- Bedrock or large rocks close to the surface
- Uneven settling or visible erosion patterns
Soil stability directly affects how to prepare your property for driveway installation. If your soil is unstable or poorly draining, you’ll need a thicker base layer and possibly improved drainage solutions like French drains or permeable base materials. This assessment determines your material costs and labor requirements.
Topography also matters. Observe the natural slope of your property. Water should flow away from the driveway, not toward it. If your site slopes toward the driveway location, you’ll need to create a drainage solution, either grading the surrounding land or installing subsurface drainage.
Coordinate Utility Line Marking and Property Boundaries
Before any excavation or grading happens, you must locate all underground utilities. Hitting a gas line, electrical conduit, or water pipe during site preparation can be dangerous, expensive, and disruptive. Most states have a "call before you dig" system, often called 811, that marks underground utilities for free.
Call 811 at least two to three days before you plan to begin site work. Utility companies will send representatives to mark gas lines, electrical lines, water mains, and telecommunications cables with paint or flags. These marks are temporary, so plan your work accordingly. If markings fade before you’re ready to start, call again.
At the same time, confirm your property boundaries. A surveyor can establish exact boundary lines, which is especially important if your driveway will be near a property line. Encroaching on a neighbor’s property creates legal liability and may require removal and reinstallation.
Document the utility marking clearly, take photos and note the marked locations. Share this information with any contractors you hire. Many property owners skip this step or assume they know where utilities are located. That assumption has led to expensive accidents and project delays.
Hitting underground utilities during driveway preparation can cost thousands in emergency repairs and create safety hazards. Utility marking is free and takes days, not hours. There’s no good reason to skip it.
Land Grading for Drainage and Proper Surface Preparation
Grading is the process of shaping the ground to establish proper slope and drainage. This is where many DIY property owners and inexperienced contractors make mistakes. Improper grading leads to water pooling on the driveway, accelerated deterioration, and eventual failure.
The standard grade for a driveway is a 1-2% slope, meaning the surface drops 1-2 inches for every 100 inches of length. This slope is gentle enough that it’s not noticeable to drivers but steep enough that water runs off rather than pooling. Water that sits on a driveway surface freezes in winter, creating ice and accelerating damage. Water that pools at the edges seeps into the base layer, destabilizing the foundation.
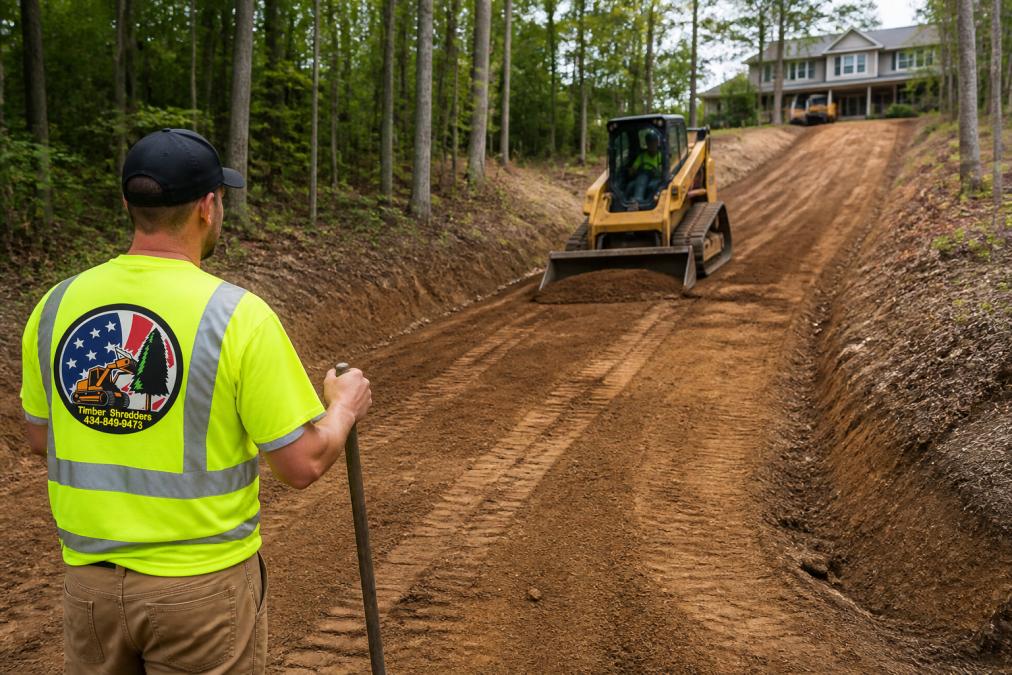
Grade the driveway so water flows toward the sides or ends, away from buildings and structures. If your property has natural low spots, consider how water will move during heavy rain. You may need to grade the surrounding land as well to direct runoff away from the driveway area.
During grading:
- Remove topsoil and organic material from the driveway area
- Create the proper slope from center to edges
- Compact the graded surface to prevent settling
- Establish drainage channels if needed for water management
Grading also identifies any unexpected soil conditions, bedrock, unstable layers, or poor drainage areas that weren’t apparent before clearing. If you discover issues during grading, address them before moving to the base layer. Fixing problems after base installation is far more expensive.
Determine Driveway Base Material Depth and Compaction
The base layer is what makes a driveway last. It distributes the weight of vehicles across a larger area, prevents settling, and manages drainage. Most residential driveways need a base layer of 4-6 inches, though some conditions require deeper bases.
Driveway base material depth depends on:
- Soil conditions (poor soil needs thicker base)
- Expected traffic (heavier vehicles need more support)
- Climate and freeze-thaw cycles (cold climates benefit from thicker bases)
- Local building codes (some jurisdictions specify minimum depths)
Common base materials include crushed stone, gravel, recycled asphalt, and engineered aggregate. Each has different compaction requirements. Crushed stone compacts well and provides good drainage. Recycled asphalt can re-bind under heat and traffic, creating a semi-permanent base layer. Engineered aggregate is specifically designed for load-bearing and compacts to high density.
The base material must be compacted properly. Loose base material settles under vehicle weight, creating depressions and cracks in the driveway surface above it. Compaction is done in layers, typically 2-3 inch lifts, with a vibratory compactor. Each layer must reach 95% standard proctor density, which is a measure of how tightly the material is packed.
If you’re handling base installation yourself, rent a plate compactor or vibratory roller. Manually tamping base material is ineffective and exhausting. Proper equipment ensures the base is compacted uniformly, which prevents settling and extends driveway life significantly.
Skimping on base material or compaction is the most common reason driveways fail early. It’s tempting to reduce this cost, but it’s where cutting corners causes the most damage. A properly compacted base layer is the best investment you can make in driveway longevity.
Plan for Post-Installation Protection and Maintenance
Your driveway isn’t finished when the surface is applied. The curing period and early maintenance determine how well it will hold up over time.
Asphalt requires 48-72 hours of curing before it’s ready for traffic, and full strength takes about six months. During this curing period, avoid parking on the new driveway or allowing heavy vehicles on it. Concrete typically needs 7 days before light traffic and 28 days before full-strength use. High temperatures accelerate curing; cold weather slows it.
Once cured, seal-coat asphalt every 2-3 years to protect the surface from UV damage and water penetration. Concrete benefits from sealing as well, which protects against freeze-thaw damage and staining. These maintenance steps are inexpensive compared to the cost of replacing a damaged driveway.
Plan for drainage maintenance too. Clear debris from the edges of your driveway regularly so water can flow away freely. If you installed French drains or other subsurface drainage, inspect them annually to ensure they’re functioning.
Many property owners focus intensely on installation and then neglect maintenance. That’s where how to prepare your property for driveway installation ultimately succeeds or fails. A properly prepared foundation with consistent maintenance will last 15-20 years or more. Neglect, even with excellent preparation, leads to premature failure.
Preparing your property for driveway installation requires careful planning, proper assessment, and attention to detail before any surface material is applied. The steps outlined here, from permits and site clearing to grading and base installation, determine whether your driveway will be a reliable asset or a recurring problem. Timber Shredders LLC specializes in the site preparation and land clearing work that forms the foundation for successful driveway installation, using professional equipment to clear vegetation, assess soil conditions, and prepare the base layer correctly. Get a free quote today and ensure your driveway project starts on solid ground.
Frequently Asked Questions
How do I prepare the ground for a driveway?
Ground preparation involves multiple steps: check local permits and zoning requirements, clear vegetation and debris from the site, assess soil stability and drainage, mark utility lines, establish proper grading with slope for runoff, compact the sub-base material to the correct depth (typically 4-6 inches for residential driveways), and ensure the base layer can handle the load-bearing requirements. Professional land clearing and grading equipment ensures proper compaction and drainage, which prevents future settling and water damage.
What are the legal requirements for residential driveway permits?
Most jurisdictions require a driveway permit before installation begins. Requirements typically include a site plan showing property lines, easements, and the proposed driveway location; compliance with setback distances from the road; drainage specifications; and adherence to local zoning ordinances. Contact your county or municipal building department to confirm specific requirements for your property, as regulations vary by location. Permits ensure your driveway meets load-bearing and safety standards.
How deep should the base layer be for a residential driveway?
The driveway base material depth typically ranges from 4 to 6 inches for standard residential applications, depending on soil conditions, expected traffic, and local climate. Proper compaction of this base layer is critical, inadequate compaction leads to settling, cracking, and premature failure. Soil stability assessment determines if additional depth is needed in areas with poor drainage or weak subgrade. Professional grading ensures the sub-base is compacted to the correct density for long-term durability.
How can I ensure proper drainage for my new driveway?
Proper drainage requires correct grading and slope design. Your driveway should slope away from structures at a minimum grade of 1-2% to direct runoff away from buildings and low areas. Assess your property's topography and existing drainage patterns before installation. Consider permeable paving options if environmental regulations in your area require reduced runoff. Professional land grading ensures the slope is correct and that drainage patterns protect both your driveway and surrounding property from water damage and erosion.
This article was written using GrandRanker