
Table of Contents
- Step 1: Conduct a Comprehensive Site Assessment and Survey
- Step 2: Clear Land and Remove Vegetation and Debris
- Step 3: Complete Excavation and Earthmoving Operations
- Step 4: Grade and Level the Site for Foundation Work
- Step 5: Test Soil and Ensure Proper Compaction
- Step 6: Install Drainage Systems and Stormwater Management During Construction
- Step 7: Establish OSHA Site Safety Requirements and Final Inspections
- Construction Site Clearing Checklist and Timeline
Last Updated: August 12, 2026
Step 1: Conduct a Comprehensive Site Assessment and Survey
The first step in any successful site preparation for construction is conducting a thorough site assessment and survey. This foundational work determines everything that follows, budget, timeline, equipment needs, and potential complications. Without it, you’re building on assumptions rather than facts.
A comprehensive site survey examines topography, soil conditions, existing vegetation, utility locations, drainage patterns, and access routes. Professional surveyors use GPS technology and field measurements to map the property accurately. This assessment identifies slopes, low spots, rock outcroppings, tree locations, and underground utilities that could affect your project timeline and costs.
Timber Shredders LLC begins every land clearing and site preparation project with a detailed property assessment. Their team evaluates vegetation density, identifies problem areas like erosion or poor drainage, and maps out the most efficient clearing approach. This upfront analysis prevents costly mistakes later and ensures the project stays on schedule.
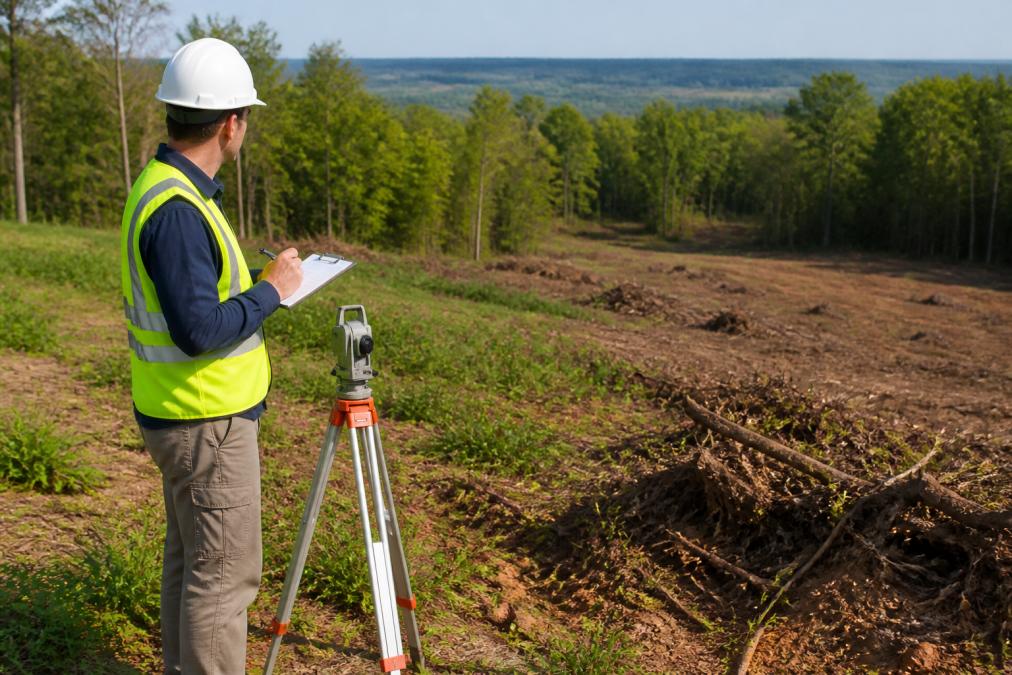
During this phase, document existing site conditions with photographs and measurements. Note the presence of mature trees worth preserving, rock formations, wet areas, and slopes. Identify all utility lines, water, sewer, gas, electric, telecommunications, by contacting your local utility locating service. This prevents dangerous and expensive strikes during excavation.
The site assessment also reveals geotechnical information crucial for foundation planning. Soil composition, bearing capacity, and groundwater levels directly impact foundation design and construction costs. Many contractors skip this step to save money upfront, then face unexpected expenses when soil conditions don’t match assumptions. A proper survey costs a fraction of what remedial work costs later.
Contact your local utility locating service at least 48 hours before any digging. Most services are free and prevent catastrophic damage to underground utilities.
Step 2: Clear Land and Remove Vegetation and Debris
Land clearing removes trees, brush, stumps, and debris from the construction site. This step restores site access and visibility while preparing the ground for excavation. The method you choose depends on vegetation density, tree size, and whether you want to preserve topsoil quality.
Forestry mulching is an efficient land clearing method that grinds vegetation and small trees into mulch in a single pass. Unlike traditional bulldozing, which strips topsoil and creates erosion problems, forestry mulching preserves soil structure and improves soil health. The resulting mulch stabilizes the ground, reduces dust, and provides organic matter that benefits future landscaping or pasture.
Demolition and debris removal address existing structures, concrete, and waste materials. This includes removing old foundations, concrete slabs, metal debris, and construction waste. Proper disposal follows local environmental regulations and prevents contamination of the cleared site.
Vegetation removal must account for site access and equipment limitations. Dense brush and thick trees require specialized equipment that can handle rough terrain without getting stuck. A property with 3 acres of mixed brush, stumps, and rocks demands equipment powerful enough to process large material while maintaining traction on uneven ground.
Forestry mulching improves soil health and prevents erosion better than traditional bulldozing, making it the preferred method for [most residential and rural properties](/residential-land-clearing-solutions-guide/).
Step 3: Complete Excavation and Earthmoving Operations
Excavation and earthmoving operations remove soil and rock to establish proper site grades and prepare for foundation work. Heavy machinery, excavators, dozers, and scrapers, moves material according to the site plan. Proper excavation ensures adequate drainage and stable ground for structures.
The excavation process begins after land clearing is complete. Equipment operators remove topsoil separately from subsoil, as topsoil contains organic matter and nutrients valuable for landscaping or pasture restoration. Subsoil is moved to designated areas or removed from the site depending on project requirements.
Rock removal presents a common challenge during excavation. Bedrock or large boulders may require blasting or specialized equipment. Unexpected rock increases project costs and timeline. This is why the initial site assessment matters, identifying rock formations early allows you to budget and plan accordingly rather than discovering them mid-project.
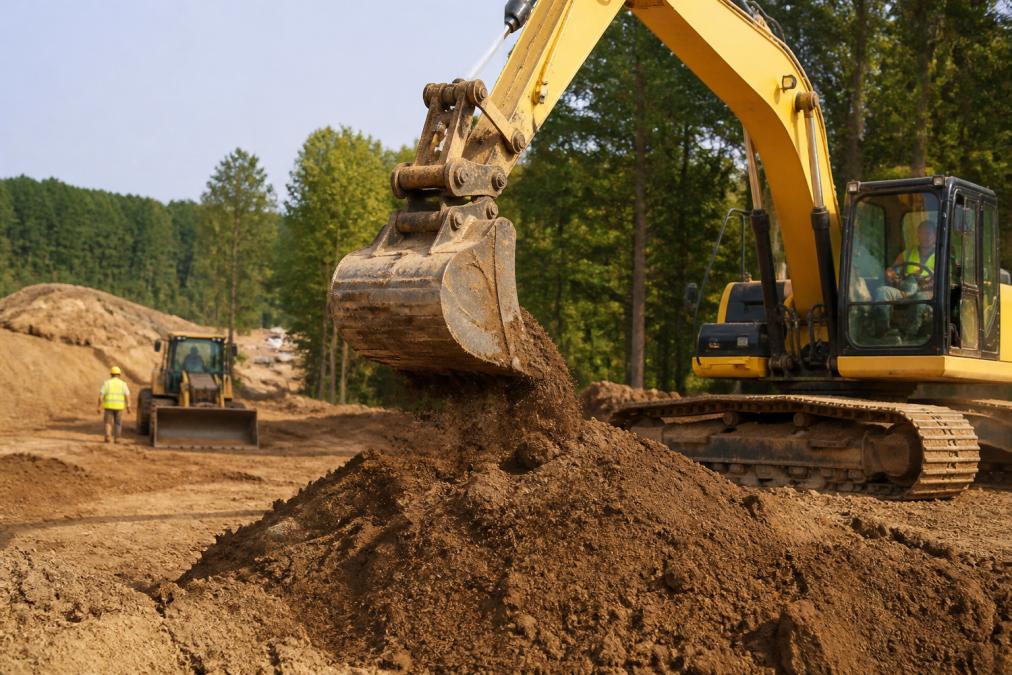
Earthmoving operations must follow the site plan established during the assessment phase. Cut-and-fill operations move excess soil from high areas to low areas, minimizing material leaving the site. This approach reduces costs and environmental impact compared to removing all excavated material off-site.
Proper excavation depth depends on foundation requirements. Shallow foundations may need only 2-3 feet of excavation, while deep foundations or basements require substantially more. The site survey and geotechnical analysis determine excavation depth and any special requirements for unstable soil conditions.
Step 4: Grade and Level the Site for Foundation Work
Grading and leveling establish the proper slopes and elevations for drainage and foundation stability. This step transforms rough excavation into a properly prepared building pad. Grading must meet design specifications and local building codes to ensure structures sit on stable, well-drained ground.
Proper grading slopes away from structures at a minimum of 5% grade (roughly 6 inches of drop per 10 feet of distance) to direct surface water away from foundations. This prevents water from pooling against foundation walls, which causes seepage, frost heave, and structural damage. Inadequate grading is a leading cause of foundation problems years after construction.
The grading process uses dozers and graders to shape the ground to design elevations. Operators follow elevation stakes set by surveyors to ensure accuracy. Final grades must be compacted to proper density to support building loads without settling.
Site stabilization during grading prevents erosion and maintains soil compaction. Temporary erosion control measures like silt fences and sediment basins protect adjacent properties and comply with stormwater regulations. These measures remain in place until final site stabilization is complete.
Inadequate grading causes foundation problems, water intrusion, and structural damage. Proper drainage slope is non-negotiable, it’s far cheaper to get it right initially than to repair foundation damage later.
Step 5: Test Soil and Ensure Proper Compaction
Soil testing determines bearing capacity, composition, and compaction requirements. This critical step ensures the ground can support building loads safely. Geotechnical engineers analyze soil samples to identify clay, silt, sand, and rock content, which affects load-bearing capacity and drainage.
Soil compaction increases soil density, reducing settlement and improving stability. Uncompacted soil settles under building loads, causing foundation cracks and structural problems. Compaction equipment, vibratory rollers, plate compactors, and impact hammers, applies energy to soil, forcing particles closer together.
The compaction process requires moisture control. Soil compacts best at optimal moisture content, too dry and particles don’t move; too wet and water prevents particle contact. Field testing measures moisture and density to verify compaction meets specifications, typically 90-95% of maximum density depending on soil type and application.
Different soil types require different compaction approaches. Sandy soils compact with vibratory equipment. Clay soils need impact or static pressure. Silty soils are often the most challenging, requiring careful moisture management. The geotechnical report from soil testing specifies the compaction method and target density for your specific site conditions.
Subgrade preparation, the layer of soil immediately beneath foundations, demands the highest compaction standards. This layer directly supports building loads and cannot settle. Proper subgrade preparation prevents costly foundation repairs and ensures structure longevity.
Step 6: Install Drainage Systems and Stormwater Management During Construction
Drainage systems manage water on and around the construction site. Proper drainage prevents foundation saturation, erosion, and flooding. Stormwater management captures, filters, and directs water to appropriate discharge points while protecting water quality.
Surface drainage directs water away from structures and low spots. Swales, shallow channels, guide water to drainage inlets. Grading slopes establish the drainage pattern. On sites with poor natural drainage, French drains or perforated pipe systems collect subsurface water and direct it away from foundations.
Subsurface drainage removes groundwater from the site. Perimeter drain tile around foundation footings collects water and directs it to daylight or a sump system. This prevents hydrostatic pressure against foundation walls and reduces water intrusion risk. Proper subsurface drainage is essential in areas with high groundwater or clay soils that drain poorly.
Stormwater management systems capture runoff from impervious surfaces like roofs and parking areas. Sediment basins or retention ponds settle suspended soil before water is discharged. These systems comply with EPA stormwater regulations and local environmental requirements. Improper stormwater management causes erosion, water quality degradation, and regulatory violations.
Properties with clay soils, high water tables, or poor natural drainage benefit most from comprehensive subsurface drainage systems combined with surface grading that directs water away from structures.
Step 7: Establish OSHA Site Safety Requirements and Final Inspections
OSHA site safety requirements protect workers during construction. The Occupational Safety and Health Administration (OSHA) establishes standards for excavation safety, equipment operation, fall protection, and hazard communication. Compliance is mandatory and prevents injuries, fatalities, and regulatory penalties.
Excavation safety is critical during site preparation. OSHA requires sloped or shored excavations to prevent cave-ins. Soil type determines slope angle, sandy soil requires steeper slopes than clay. Competent persons trained in soil classification must evaluate soil conditions and specify appropriate protection. Failure to comply with excavation standards results in serious injuries or deaths.
Equipment operation safety requires certified operators and proper maintenance. Heavy machinery operators must have training and certification appropriate to the equipment. Daily equipment inspections identify maintenance issues before they cause accidents. Proper operation procedures, including communication with spotters, prevent struck-by incidents and equipment rollovers.
Site safety plans document hazards, controls, and emergency procedures. These plans address traffic control, utility hazards, weather protection, and incident response. All workers receive safety orientation covering site-specific hazards and required protective equipment. Regular safety meetings reinforce expectations and address emerging issues.
Final inspections verify that site preparation meets design specifications and code requirements. Building officials inspect grading, drainage, compaction, and utility installation. Inspections confirm the site is ready for foundation construction. Deficient work must be corrected before construction proceeds.
OSHA violations result in substantial fines and work stoppages. More importantly, safety compliance prevents injuries and deaths. Site safety is not negotiable, it’s a legal and moral requirement.
Construction Site Clearing Checklist and Timeline
A construction site clearing checklist ensures all preparation steps are completed before foundation work begins. This checklist serves as a quality control tool and project management reference. Following the checklist prevents overlooked tasks that could delay construction or cause problems later.
| Task | Duration | Frequency | Responsibility |
|---|---|---|---|
| Site assessment and survey | 1-3 days | Once | Professional surveyor |
| Utility location and marking | 1-2 days | Before clearing | Utility locating service |
| Land clearing and vegetation removal | 3-7 days | Once | Land clearing contractor |
| Demolition and debris removal | 3-5 days | As needed | Demolition contractor |
| Excavation and earthmoving | 5-10 days | Once | Excavation contractor |
| Grading and leveling | 3-5 days | Once | Grading contractor |
| Soil testing | 2-3 days | Once | Geotechnical engineer |
| Compaction verification | 1-2 days | During grading | Testing lab |
| Drainage system installation | 3-5 days | Once | Drainage contractor |
| Stormwater management setup | 2-4 days | Once | Contractor |
| OSHA compliance verification | 1 day | Before foundation | Safety officer |
| Final inspection | 1 day | After all work | Building official |
The typical site preparation timeline spans 4-6 weeks for residential projects, depending on property size, soil conditions, and complexity. Simple sites with good drainage and stable soil move quickly. Sites with poor drainage, rock, or utility complications take longer. Weather delays extend timelines, wet conditions prevent compaction and grading work.
Project planning must account for permit timelines. Building permits, grading permits, and environmental permits add 2-4 weeks before work can begin. Utility location requests require 48 hours notice. Starting permits early prevents delays that compress the construction schedule.
Common mistakes that extend timelines include inadequate site assessment, unexpected rock or utilities, poor weather timing, and incomplete permit approvals. Rushing site preparation to save time creates foundation problems that cost far more to repair. Proper planning and realistic scheduling prevent costly rework.
A common mistake is underestimating compaction time. Soil compaction cannot be rushed, each lift must be properly compacted before the next layer is placed. Attempting to compact too quickly results in inadequate density and future settlement problems. Patient, methodical compaction ensures long-term stability.
Successful site preparation for construction requires systematic execution of seven critical steps: assessment, clearing, excavation, grading, soil testing, drainage installation, and safety compliance. Each step builds on the previous one. Skipping steps or cutting corners creates problems that multiply in cost and complexity.
Timber Shredders LLC helps property owners navigate site preparation with professional equipment, experienced operators, and comprehensive planning. Their streamlined process ensures projects stay on schedule while improving soil health and property usability. Get a free quote to discuss your site preparation needs and learn how professional land management sets the foundation for successful construction.
Frequently Asked Questions
What’s included in a proper site preparation assessment?
A thorough site assessment evaluates topography, soil type, existing vegetation, utility locations, drainage patterns, and site access. Your surveyor will map the property’s elevation changes, identify load-bearing capacity of the soil, check for underground utilities, and note any environmental concerns. This assessment guides every subsequent step and prevents costly surprises during excavation or foundation work.
How long does the complete site preparation process typically take?
Site preparation timelines vary based on property size and complexity. A residential lot may take 1-2 weeks, while larger development sites can take 4-8 weeks. Weather, soil conditions, and utility relocations affect scheduling. Professional contractors provide a construction site preparation timeline upfront, accounting for permitting delays, seasonal factors, and equipment availability to ensure realistic project completion dates.
Will site preparation damage my soil or cause erosion problems?
Professional site preparation actually improves soil health when done correctly. Modern techniques like forestry mulching preserve topsoil and organic matter, unlike traditional bulldozing. Proper grading and compaction create stable subgrades for construction. Installing erosion control measures and drainage systems during site preparation prevents water damage and stabilizes the land. The key is using experienced operators and appropriate equipment for your specific soil type.
What permits and regulatory requirements apply to site preparation?
Site preparation typically requires building permits, grading permits, and stormwater management permits depending on local codes. If utilities are involved, you’ll need utility locating (call 811 before digging). Larger projects may require environmental assessments. OSHA site safety requirements apply once construction begins. Check with your local building department and county regulations to identify all required permits before starting work to avoid fines and project delays.
This article was written using GrandRanker